Quick Start
This is the quick start guide to getting started with FFU Builder. If you’re new, start here to build your first FFU.
After following this guide, you will have a USB drive with an FFU that contains the following:
- Windows 11 25H2 (with your choice of architecture, language, SKU, and media type)
- The latest
- Windows and .NET Cumulative Updates
- Defender definitions, platform updates, and Windows Security Center application update
- Microsoft Edge
- Microsoft OneDrive
- Malicious Software Removal Tool (MSRT)
- Microsoft 365 Apps (Current Channel)
- Winget Applications (Optional)
- Company Portal
- Drivers (Optional)
- In some cases drivers aren’t necessary and you can get away with Windows Update providing drivers. We’ll go over how to add drivers via the UI for Microsoft, HP, Lenovo, or Dell devices
Video Walkthrough
Note
The below video was recorded prior to the Fluent UI refresh. Some things will look a bit different until a new quick start video is recorded.
Prerequisites
Follow the prerequisites documentation before getting started.
Hyper-V Settings
Click the Hyper-V Settings tab
You should be able to keep these settings at the defaults. Enable VM Networking (Experimental) is off by default and should stay off unless you specifically want to test an internet-connected VM during provisioning.
If you turn on Enable VM Networking (Experimental), make sure the switch you created in the prerequisites section is listed under VM Switch Name. If the build does not create a VM, this setting has no effect.
One setting you might need to set is the Logical Sector Size. 512 is the default and that’s what most physical disks use today. However 4kn drives and UFS drives use 4k sector sizes, which would require you to select 4096. For now, select 512. If you have issues during deployment, there is error logging that will tell you if you need to set to 4096 on your device.
Windows Settings
Click the Windows Settings tab
Keep Download Windows ESD selected. FFU Builder will download the ESD file that the Windows Media Creation Tool uses. This is the recommended approach since the Media Creation Tool media ESD file is now kept up to date as of Windows 11 25H2 (it’s usually updated 2-3 days after patch Tuesday). This reduces the need to service the media and saves time and disk space.
Change the Windows language to the one of your choosing.
Change the Windows SKU to either Home or Pro depending on what your physical device(s) shipped with. This is due to how activation works by Windows. If you match the media type and SKU with what the device shipped with, then Windows will activate using the key in the firmware. In most scenarios, selecting Pro and Consumer will be what you want.
Leave the other settings as is. There should be no need to provide a product key unless you’re providing your own Windows ISO.
Updates
Keep the defaults
Applications (optional)
Click the Applications tab
In this quick start we’ll be installing the winget published version of the Company Portal application. This is optional, but it’s a common application that IT admins like to install that use Intune to manage their devices. If you want to use something else, feel free to replace Company Portal with another app.
You can also provide your own applications instead of, or in conjunction with, winget applications, however this guide will keep things simple and opt for using winget.
Check Install Winget Applications
Click Check Winget Status
In the Winget Search box search for Company Portal
If you see multiple applications, select the msstore source version of the Company Portal application (FFU Builder doesn’t allow the winget source application to install due to how the application is packaged). Make sure to click the check box.
Click the Save AppList.json button
This will save an AppList.json file in your C:\FFUDevelopment\Apps folder and should look like this:
{
  "apps": [
    {
      "name": "Company Portal",
      "id": "9WZDNCRFJ3PZ",
      "source": "msstore",
      "architecture": "NA",
      "AdditionalExitCodes": "",
      "IgnoreNonZeroExitCodes": false
    }
  ]
}
Note
The AppList.json file is what controls winget application downloads during the FFU build process. You might also notice that you can download the application by clicking the Download Selected button. That will do a point in time download of the selected applications via winget and will also update the AppList.json file. At build time the BuildFFUVM.ps1 script will check the AppList.json file and will check if the apps exist. If they do, it will skip downloading the applications.
Note
If your build machine isn’t joined to Microsoft Entra, it will prompt you to authenticate twice to download any msstore source application. First for the application, and the second for the license file. This happens for each msstore source application. If this becomes annoying, you can run the FFUBuilder UI on an Entra joined machine (or hybrid joined) and download the apps you need and copy the Apps folder into the Apps folder on your build machine.
Tip
To download winget applications with the msstore source, you need one of the following rights on your account: Global Administrator, User Administrator, or License Administrator
M365 Apps/Office
FFU Builder uses the Office Deployment Tool to download and install Microsoft 365 Apps.
The default configuration will install the 64-bit current channel version of Office with Word, Excel, Powerpoint. It will download the currently installed language of the operating system (i.e. uses MatchOS for language), which is fine for most people, however if you need to specify the correct language, you’ll need to make some modifications to the XML files.
Check the M365 Apps/Office UI Overview page that explains the XMLs used in detail.
Drivers
FFU Builder makes it easy to add drivers from the four major OEMs (Dell, HP, Lenovo, Microsoft). The difference between FFU Builder and other solutions is that FFU Builder tries to use the latest drivers from the OEM, not out-dated driver packages/CABs. This makes things somewhat more complicated to develop, but should make for a better experience where you have the most secure, up to date set of drivers available. It won’t handle firmware/BIOS updates as Windows doesn’t allow for servicing those types of updates.
Bring Your Own Drivers
You’re also free to bring your own drivers instead of relying on using the drivers provided by FFU Builder. If you prefer the OEM cabs, you can download them and copy them to the C:\FFUDevelopment\Drivers\<Make>\<Model> folder where make is the name of the OEM and Model is the name of the model.
WinPE Drivers
FFU Builder also supports adding PE drivers. You can either copy your PE Drivers to the C:\FFUDevelopment\PEDrivers folder, or use the Drivers Folder as the PE drivers source. If you use the Drivers folder as the PE drivers source, the build script will find the appropriate driver class GUIDs for WinPE from the C:\FFUDevelopment\Drivers folder and copy them into the C:\FFUDevelopment\PEDrivers folder, overwriting what’s currently in the PEDrivers folder.
For the purposes of this quick start, we’ll use an HP EliteBook 850 G8 as the example model.
Click the Drivers tab and click the Download Drivers checkbox.
In the Make drop down, select HP and click Get Models. This may take 10-30 seconds to download the HP PlatformList.cab file and parse it. Once the file has been downloaded and parsed, the model listview will be populated with all of the HP models. Dell has a similar experience with downloading and parsing its Catalog XML file. Microsoft parses some webpages to generate a SurfaceDriverIndex.json
In the Model Filter text box, enter 850. This will filter down to all models that contain 850 in the model name. The model name column will list the model name and the system ID in parenthesis. The system ID is important because it’s that value that is used at deployment time to automatically select which drivers to install if you’ve chosen to copy drivers to the USB drive instead of including them in the FFU file.
Select HP EliteBook 850 G8 Notebook PC (8846)
Tip
If you need to manage multiple models, it’s best to select Copy Drivers to USB drive. This will keep the FFU file small and allow FFU Builder to automatically select the right drivers at deployment time (based on the system information queried via WMI).
If you select Install Drivers to FFU, you bloat the driver store with drivers you don’t need, creating a larger FFU file and wasting disk space on the physical device. It’s best to use this option when building an FFU for a single model.
To find the SystemID for HP, you can check BIOS/UEFI, or you can use PowerShell:
(Get-CimInstance -Namespace 'root\WMI' -Class MS_SystemInformation).BaseboardProduct
Check Copy Drivers to USB drive (even though we’re doing a single model in this quick start, most people will likely be managing many different models. The expectation is that most should be using Copy Drivers to USB drive in their workflows)
Your view should look like this:

At this point, you can either Save the Drivers.json file or click Download Selected. Clicking Save Drivers.json will save the Driver model information to the Drivers.json file which will be used at build time to download the drivers. Clicking Download Selected will download the drivers right now. This can be useful for testing without having to go through an entire build, or good for airgapped environments where you can download what you need from the internet on one network, and bring that over to the airgapped network.
For this quick start, click Save Drivers.json and save the file to the C:\FFUDevelopment\Drivers folder.
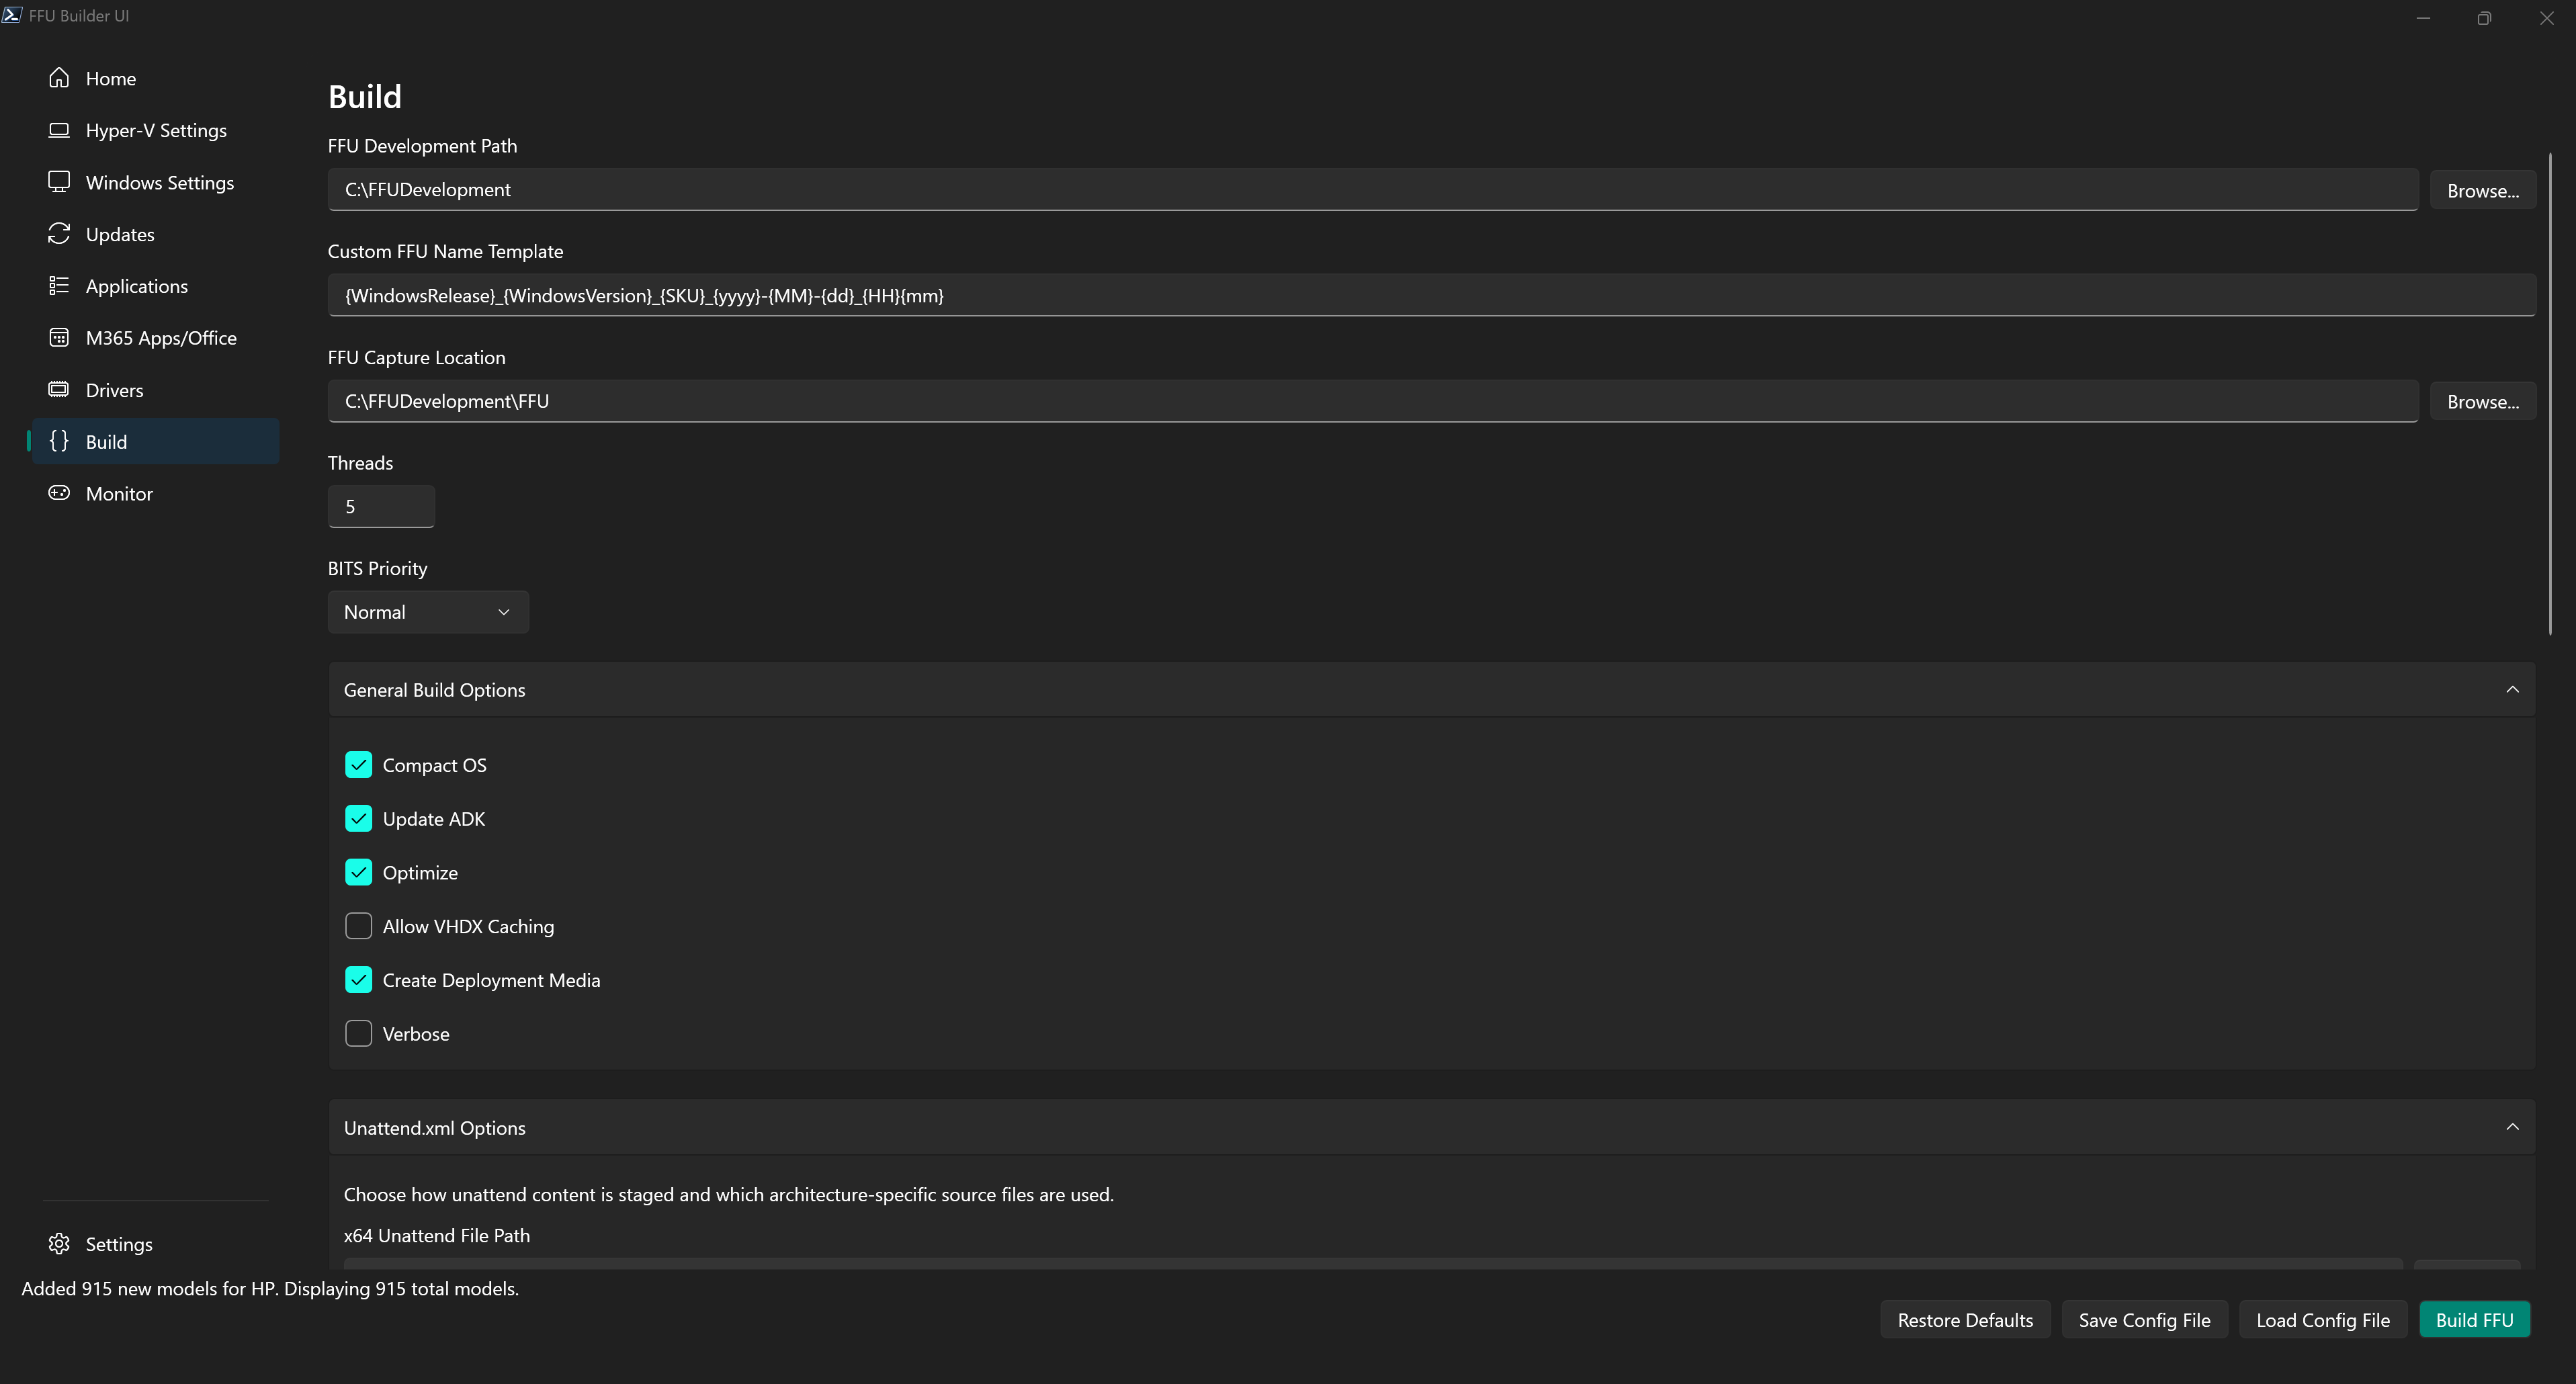
Build
Click the Build tab
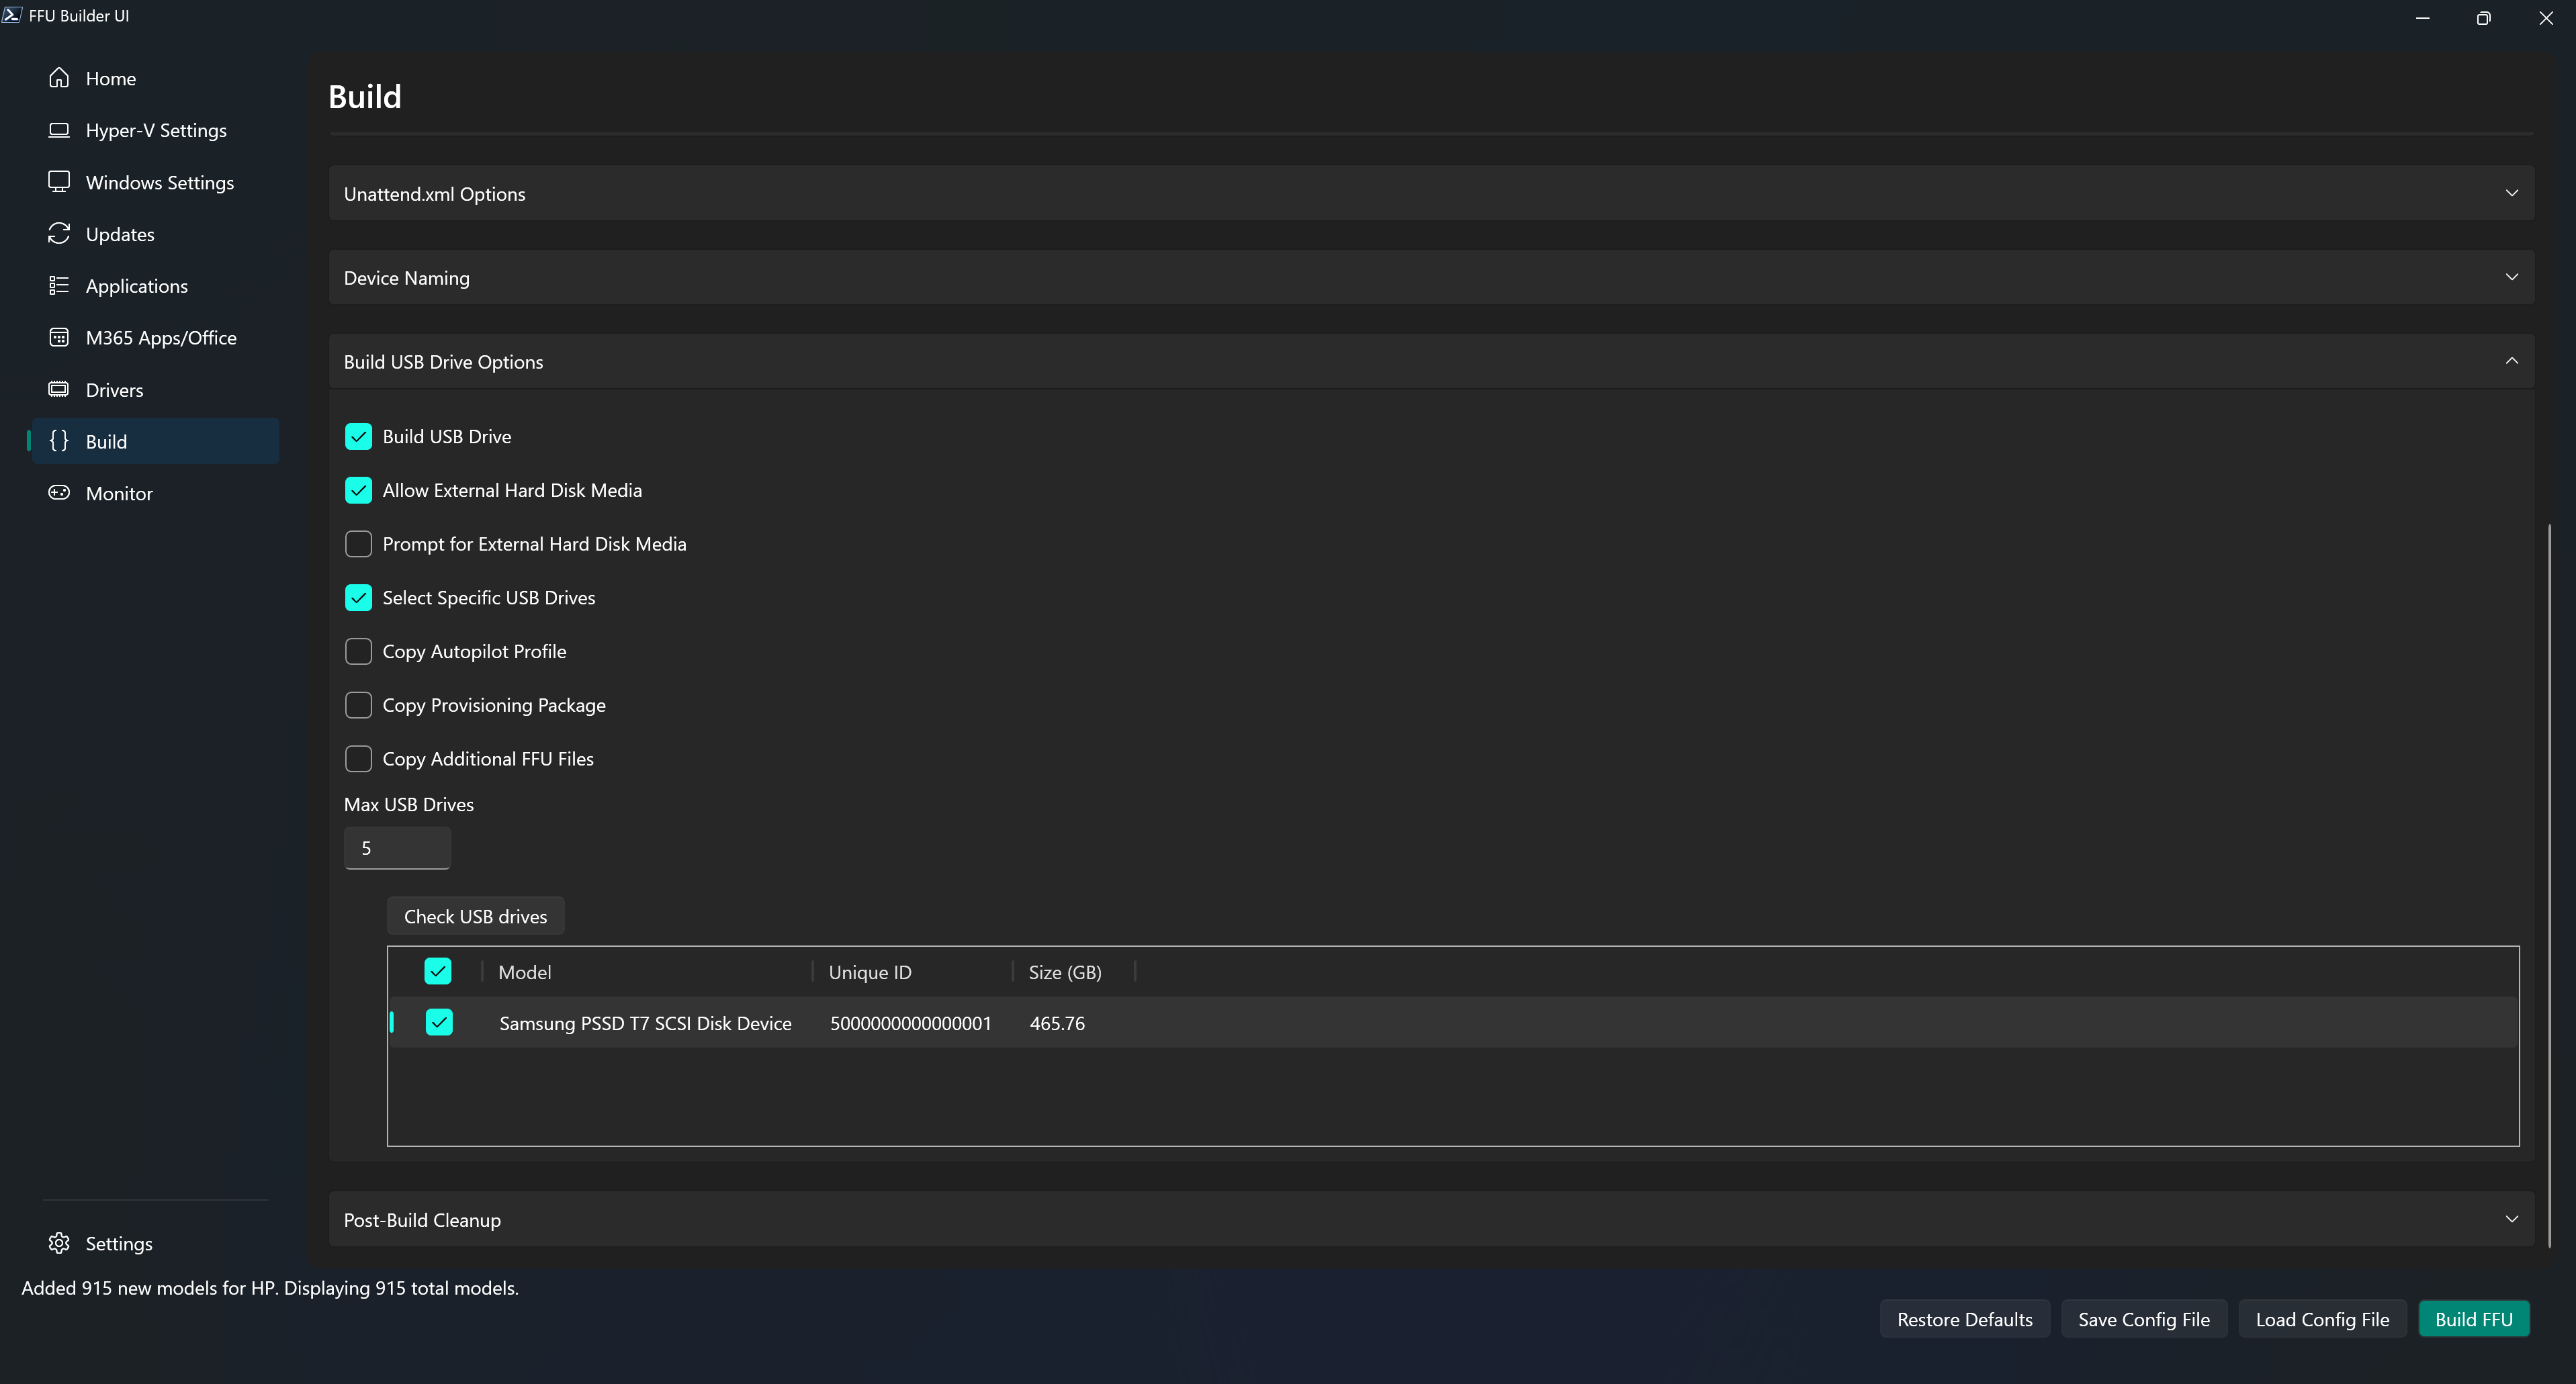
On the Build tab, click Build USB Drive.
Depending on your USB drive, it might be a removable drive or external hard disk media. If you’re using a fast USB SSD, it’s likely that Windows treats that drive as an external hard disk. If that’s the case, you might need to click Allow External Hard Disk Media. If you do, you may also want to uncheck Prompt for External Hard Disk Media. This option is in place to prevent external hard disks from automatically being formatted when building the USB drive. If you don’t have any external hard disks connected to your build machine, then it’s safe to uncheck the Prompt for External Hard Disk Media option.
Another safety measure is Select Specific USB Drives. When you check Select Specific USB Drives a list view will pop up with a Check USB drives button. Clicking the Check USB Drives button will show all connected USB drives (removable or external hard disks). Select which drives you want.
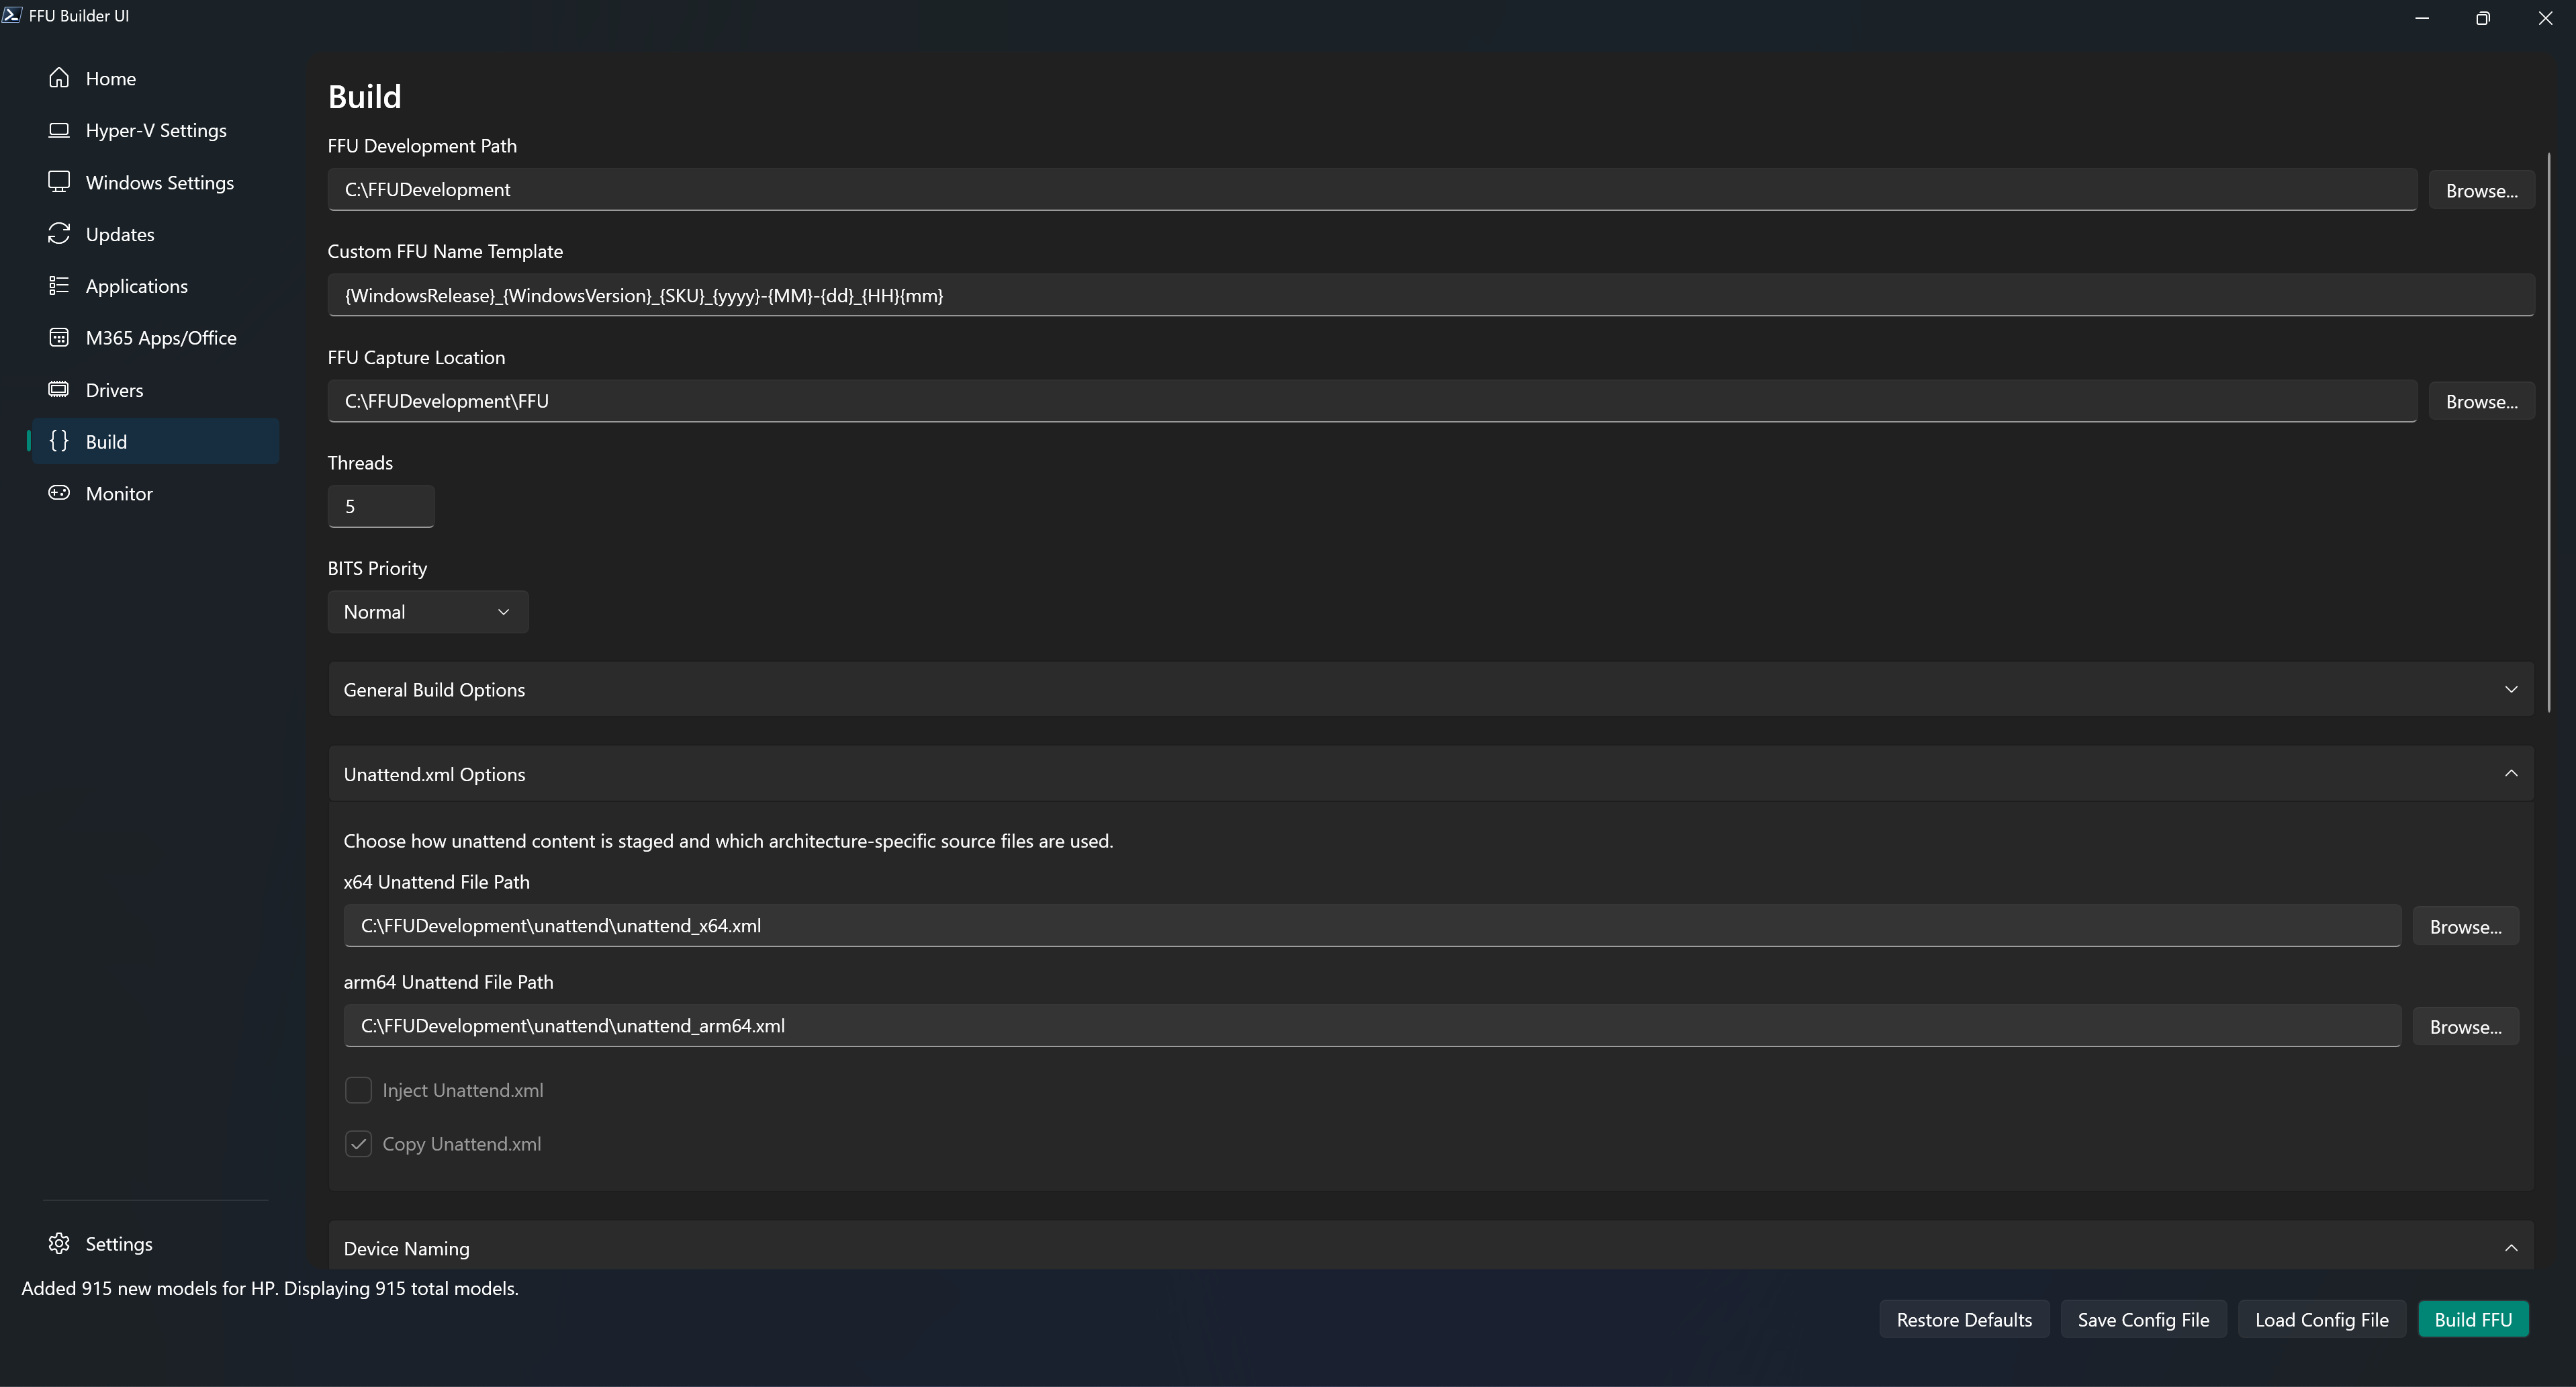
Device Naming
Use the Device Naming expander on the Build page to decide whether ComputerName should be set during deployment. There are some major benefits to doing this:
- Total deployment time is reduced if naming is set at FFU deployment time since there is no additional reboot done during OOBE.
- Reduces the need for multiple provisioning packages or autopilot profiles. This means you can use a single PPKG or autopilot profile.
No Device Name
This is the default option. The unattend file is still applied, but Windows generates a random computer name.
Specify Device Name
Use this option when you want a static device name or a template such as Comp-%serial%.
- With Copy Unattend.xml,
%serial%is resolved during deployment in PE. - With Inject Unattend.xml, only static names are supported.
- Copy Unattend.xml and Inject Unattend.xml are mutually exclusive. Select only one.
Specify a list of Prefixes
This option writes prefixes.txt from the list in the UI. Enter one prefix per line or import an existing prefixes file. The source file can use any name because the UI tracks the prefixes path separately. If there is one prefix, deployment uses it automatically. If there are multiple prefixes, the technician is prompted to select one and the serial number is appended to that prefix.
Note
If the technician skips prefix selection when multiple prefixes are available,
ApplyFFU.ps1leaves the existing unattendComputerNamevalue unchanged. With the current unattend samples set to<ComputerName>*</ComputerName>, Windows falls back to its default random computer-name behavior, typically resulting in a name such asWIN-*.
Specify Serial to Device Name Mapping
This option writes SerialComputerNames.csv from the CSV content in the UI. Use SerialNumber,ComputerName as the header row, then add one row per device. During deployment, ApplyFFU.ps1 compares the current BIOS serial number to the CSV and applies the matching computer name.
- This option requires Copy Unattend.xml.
- Inject Unattend.xml is not supported with this option.
- If no matching serial number is found during deployment,
ApplyFFU.ps1falls back to a randomFFU-*computer name.
Note
If
prefixes.txtandSerialComputerNames.csvare both present on the same deployment media,ApplyFFU.ps1checksprefixes.txtfirst. FFU Builder stages only the naming file for the selected device-naming mode.
Warning
If using a provisioning package or autopilot json file, DO NOT specify a name in either of these. They will overwrite the name you have specified in the unattend.xml.
For the purposes of this quickstart, we’ll use Prompt for Device Name
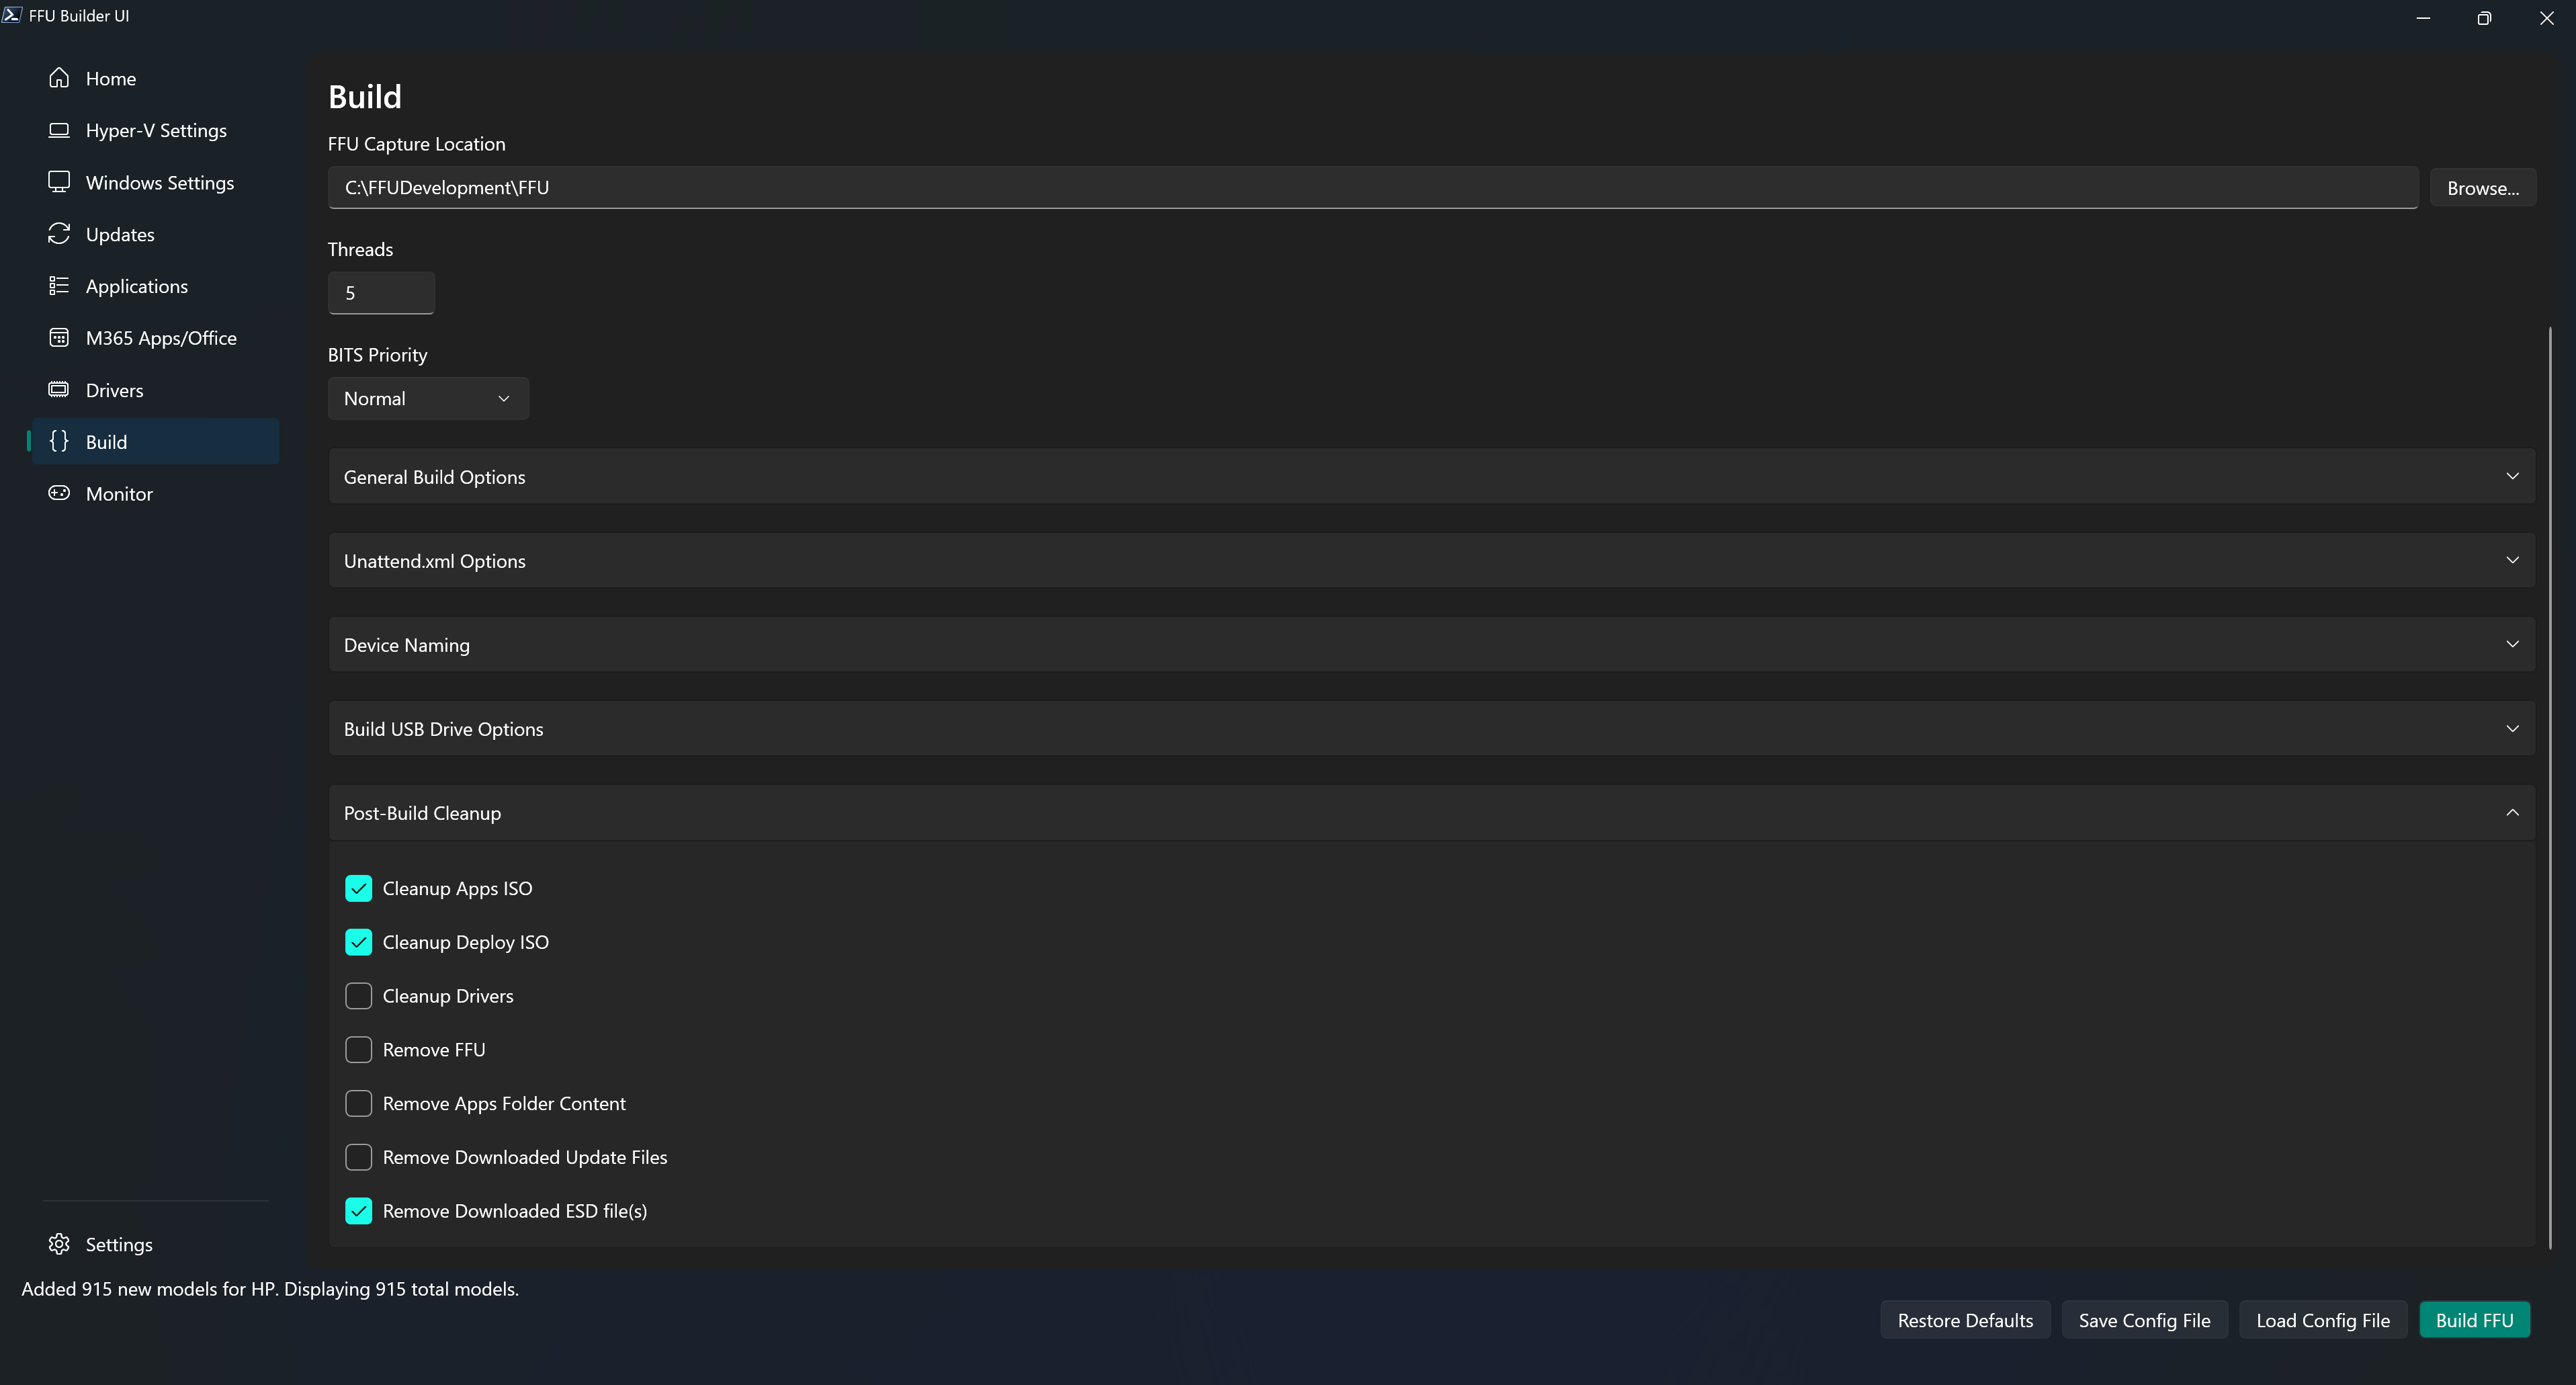
Post Build Cleanup
Leave the Post Build Cleanup section at the defaults
Your Build tab should look something like this:

Click Build FFU
Depending on your internet speed, speed of your build machine, etc. this will take some time (probably at least 20 minutes). After clicking Build FFU, you’ll be automatically moved to the Monitor tab.
Monitor
The monitor tab parses the C:\FFUDevelopment\FFUDevelopment.log file. If you’d like to use CMTrace or another tool to monitor the log, feel free. The monitor tab has some similar functionality to CMTrace. If you click off the last line of the log in the monitor tab it will stay on that line, allowing you to read what you have selected instead of the log autoscrolling. You can also copy one or multiple lines by selecting a line and shift+clicking the last line you want to select and hitting ctrl+c to copy the lines.
Now sit back, relax, and watch FFU Builder do its magic. You should see a VM pop up after everything is downloaded and Windows has been installed to the VHDX file (it may not if Hyper-V manager wasn’t previously open). If you don’t see a VM pop up, you can open up Hyper-V manager and look for a VM with a name that starts with _FFU-.
Note
Don’t interact with the VM (e.g. don’t click into the PowerShell window that’s orchestrating the install of the updates, apps, etc). The whole process should be completly automated with no user interaction necessary. If you click into the PowerShell window while it’s working, you may get PowerShell into “select” mode. If this happens, the PowerShell window will look like it’s “stuck.” That’s because clicking into a cmd/PowerShell window while something is in process and you’re in select mode waits for you to exit select by hitting Enter.
Post Build
Once the build is complete, you should have a USB drive with two partitions: Boot and Deploy.
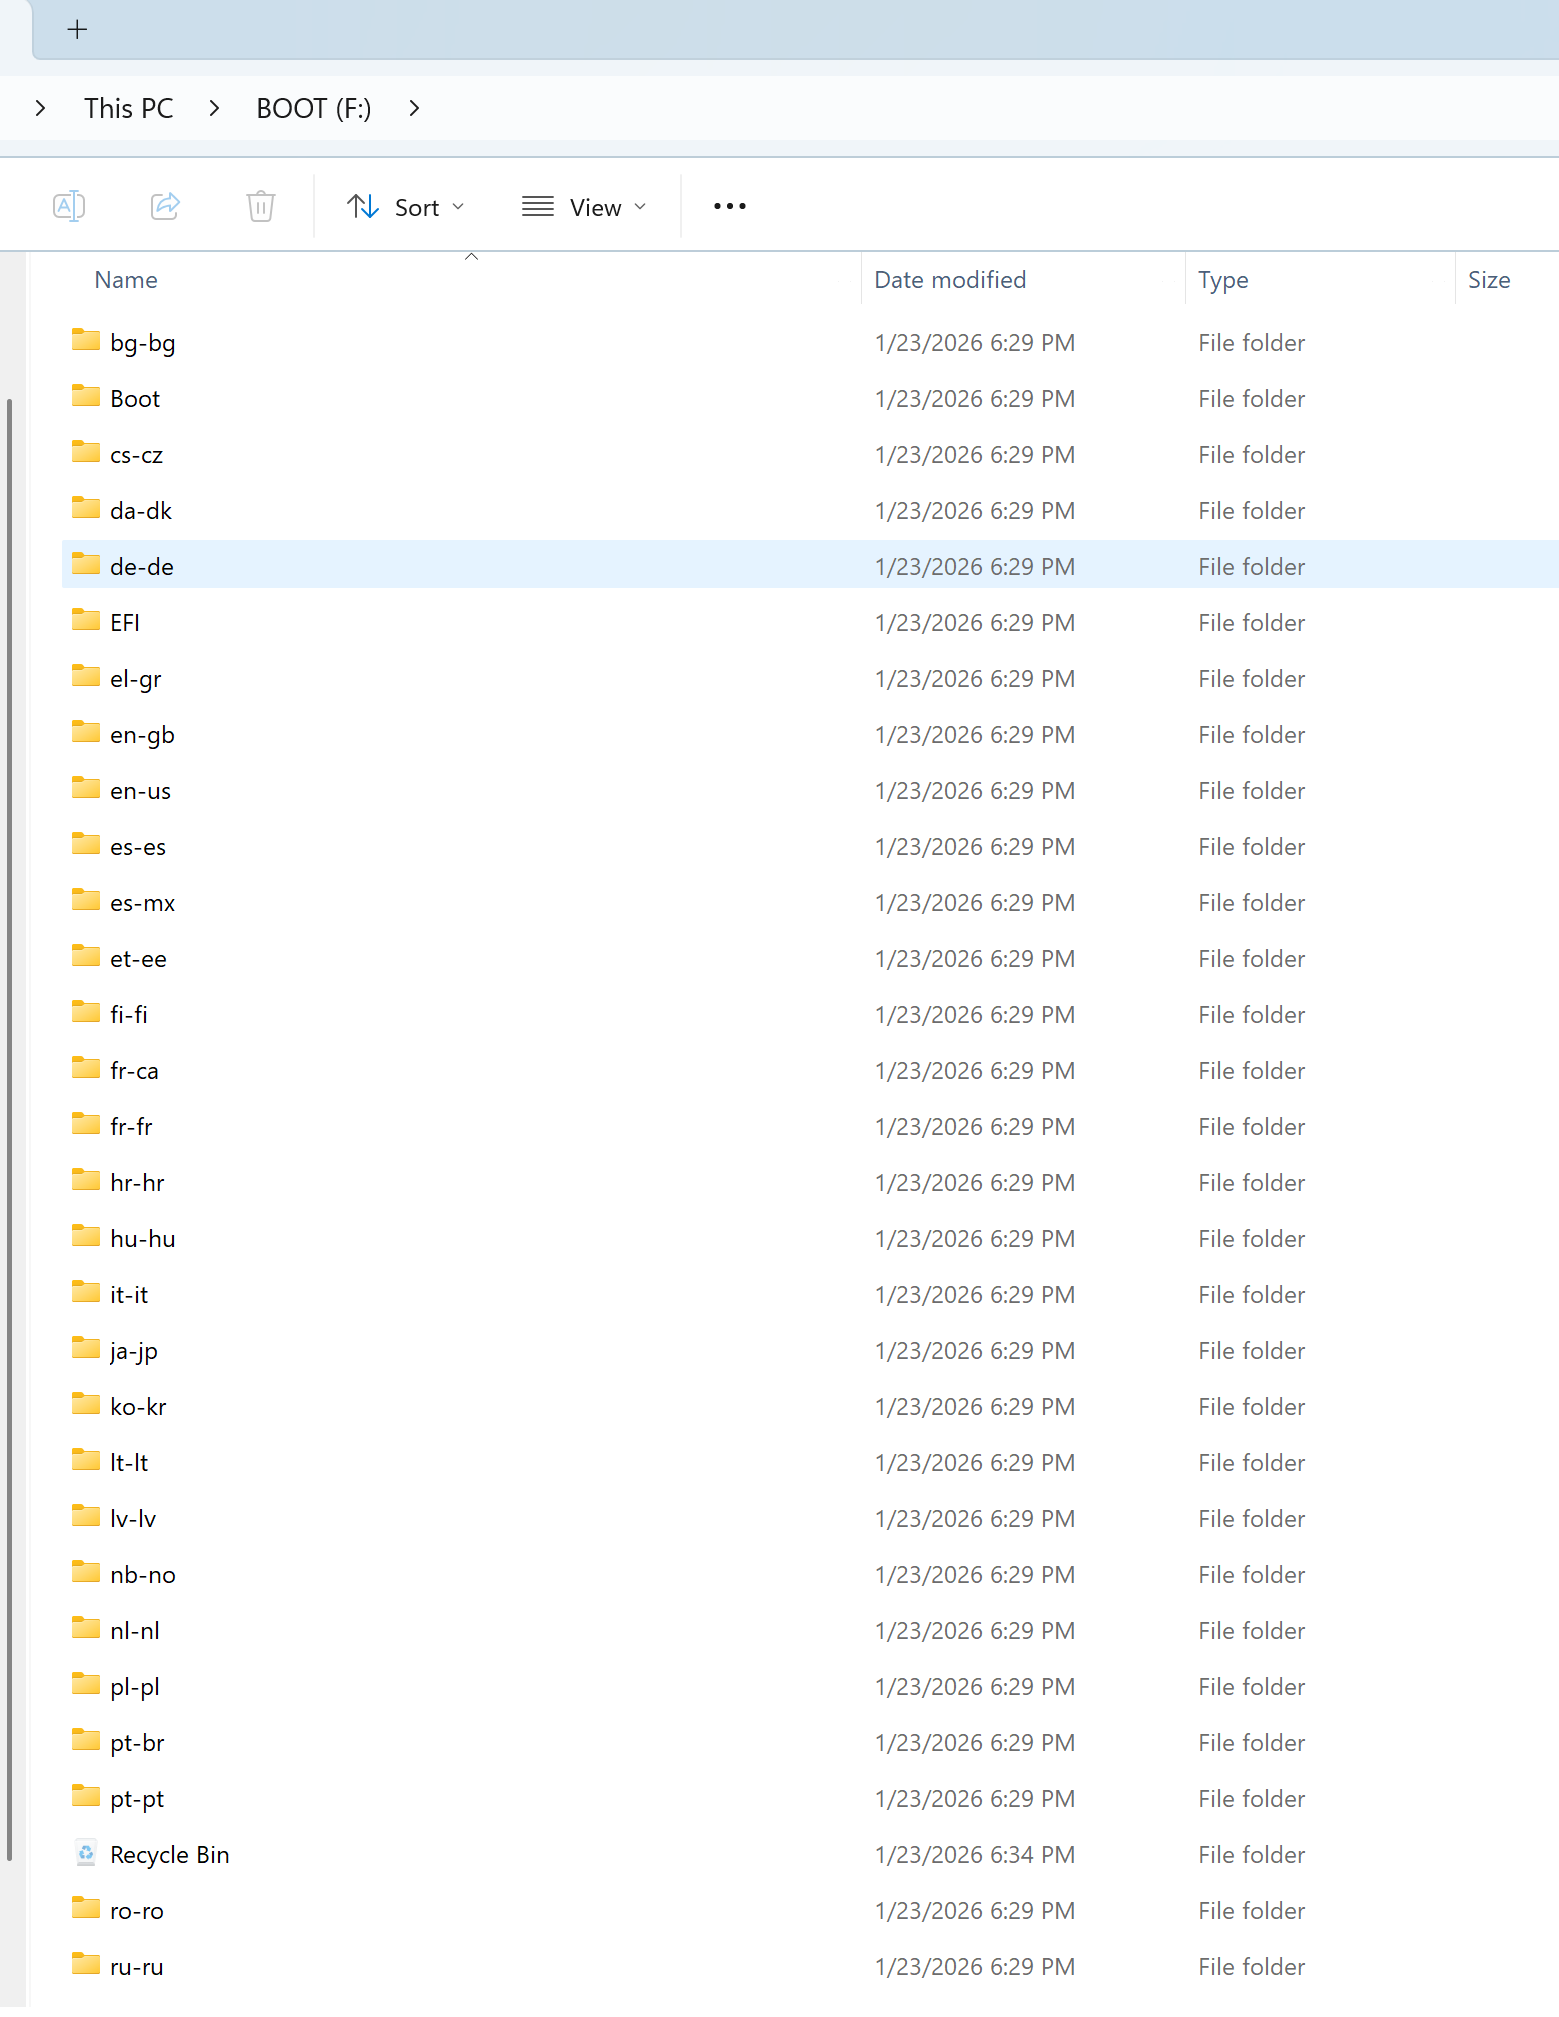
The Boot partition is the WinPE Deployment media. It’ll look like this:
The Deploy partition is where the FFU file, the Drivers folder, and Unattend folders should be.
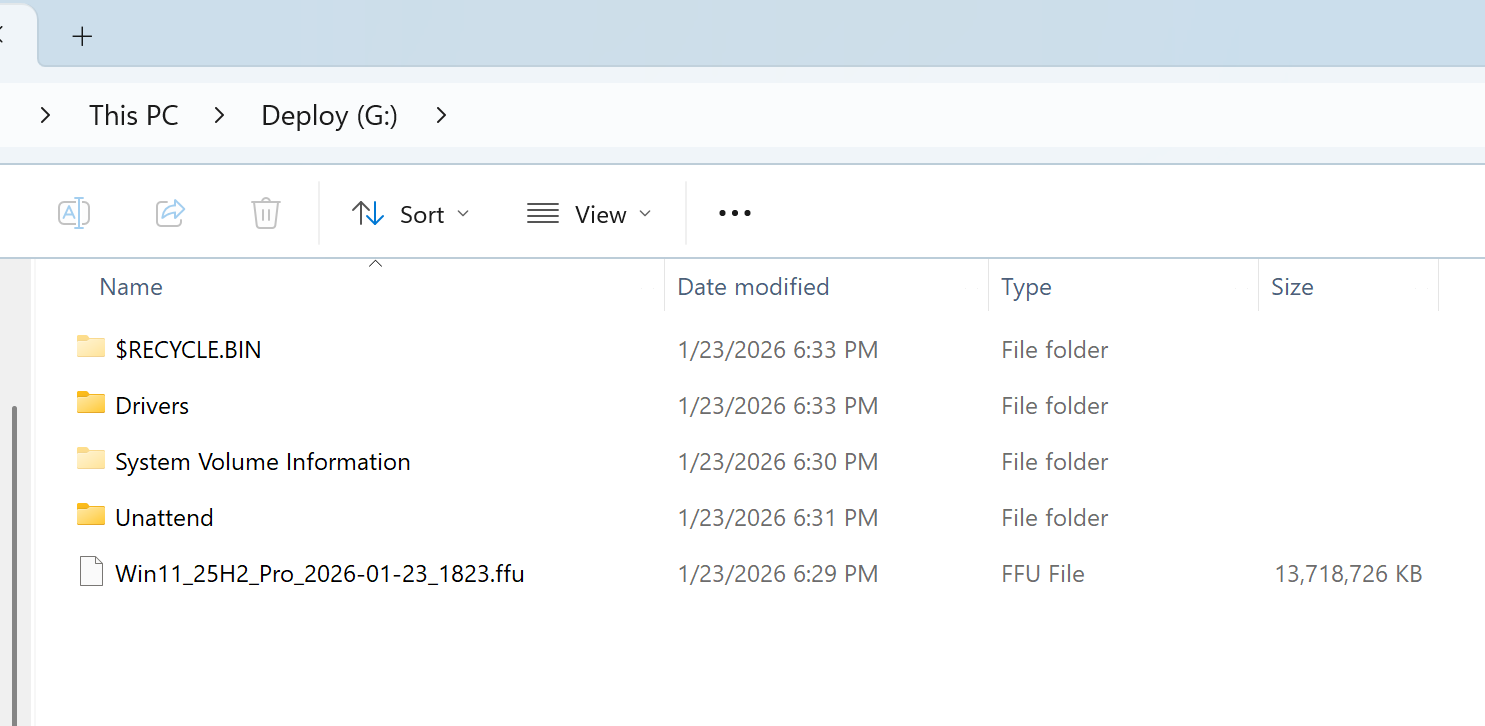
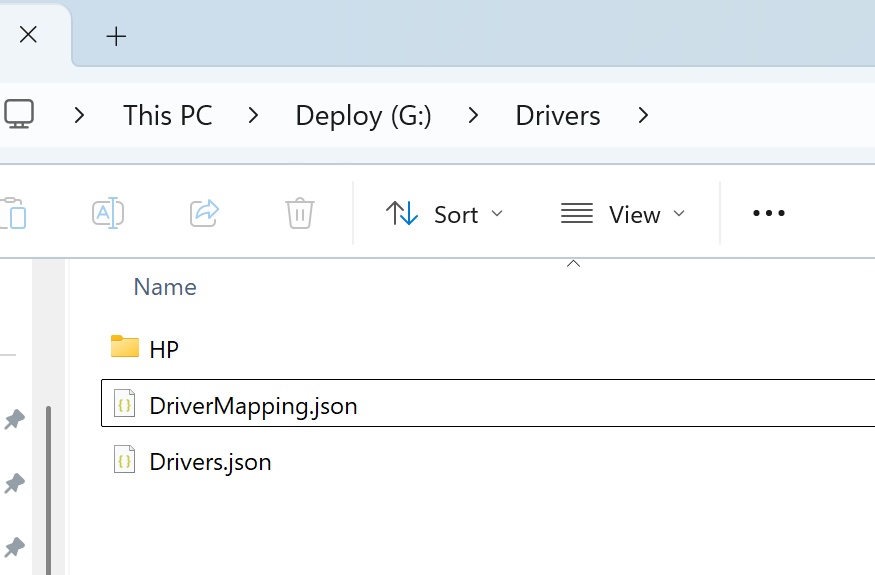
The Drivers folder will have an HP folder, a DriverMapping.json and Drivers.json file.
The DriverMapping.json file is what’s used to do automatic driver matching during deployment. FFU Builder will read this file and match on the SystemID to know which driver folder to apply. Since there’s only a single driver folder in this example, the file is fairly simple to understand. When you have multiple models and OEMs, the file gets a bit more complex.
The DriverMapping.json should look like this:
{
  "Manufacturer": "HP",
  "Model": "HP EliteBook 850 G8 Notebook PC (8846)",
  "DriverPath": "HP\\HP EliteBook 850 G8 Notebook PC (8846)",
  "SystemId": "8846"
}
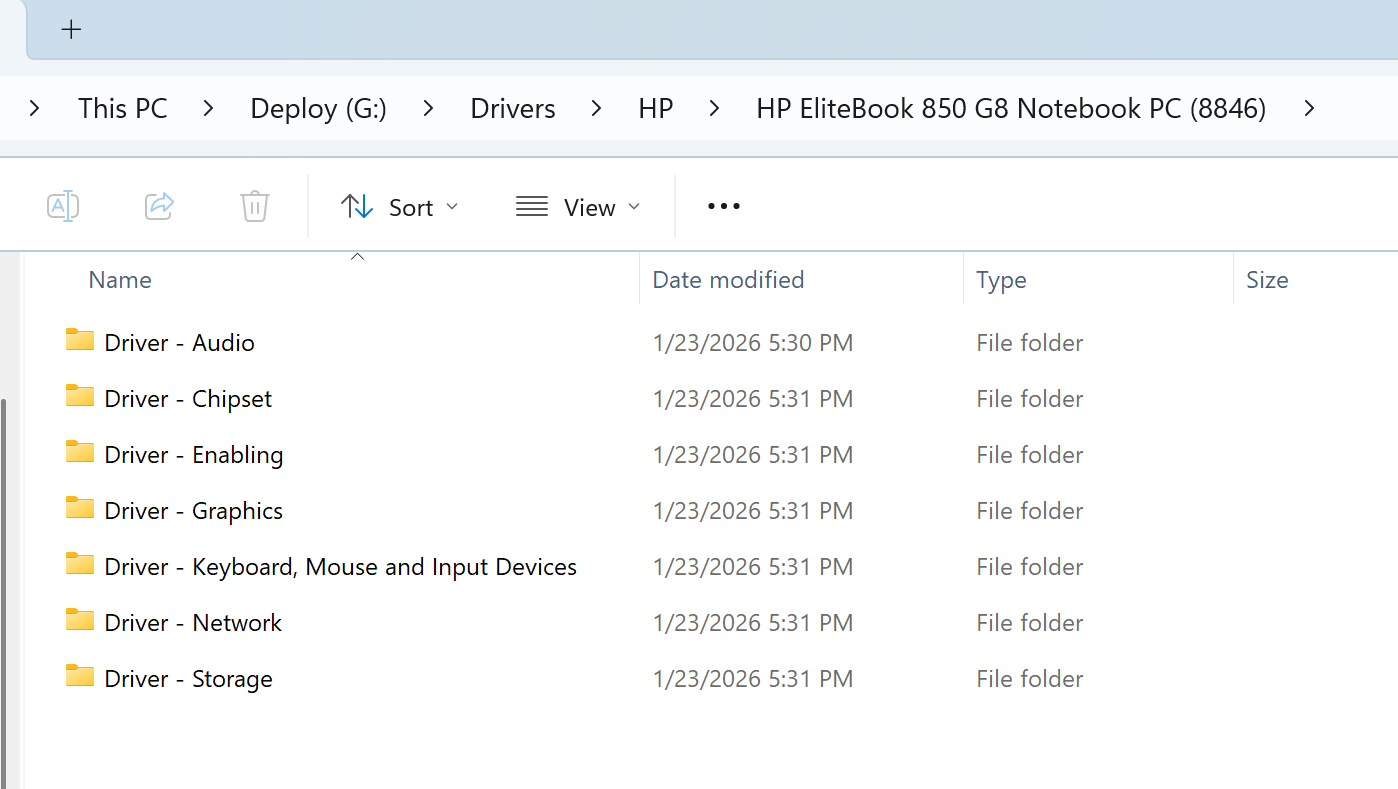
The HP EliteBook 850 driver folder should be populated with the various driver categories:
And the Unattend folder should have an unattend.xml file with the following content:
<?xml version="1.0" encoding="utf-8"?>
<unattend xmlns="urn:schemas-microsoft-com:unattend">
  <settings pass="specialize">
  <!--<ComputerName> must be in the first Component Element  "Microsoft-Windows-Shell-Setup" . Do not change the order or remove it -->
    <component name="Microsoft-Windows-Shell-Setup" processorArchitecture="amd64" publicKeyToken="31bf3856ad364e35" language="neutral" versionScope="nonSxS" xmlns:wcm="http://schemas.microsoft.com/WMIConfig/2002/State" xmlns:xsi="http://www.w3.org/2001/XMLSchema-instance">
      <ComputerName>*</ComputerName>
    </component>
  <!--Place addtional Components Elements and settings below here. -->
  </settings>
</unattend>
Keep * if you want Windows to generate a random device name by default.
If you want the technician to be prompted for the device name during deployment, select Prompt for Device Name in the Build tab and enable Copy Unattend.xml. FFU Builder will rewrite only the staged deployment copy of Unattend.xml for that workflow.
Now you’re ready to deploy the FFU to your device.
Deployment
Deployment should be fairly straight forward: boot off the USB device and the deployment of the FFU and drivers should happen automatically. If you selected Prompt for Device Name or another supported device naming option, that naming step will happen during deployment.
If you have any questions or run into any issues, open a discussion in the Github repo.